
Screenshot walkthrough
How to convert an image format
Choose a supported output format, convert a copy in your browser, then download it. The original file stays unchanged.
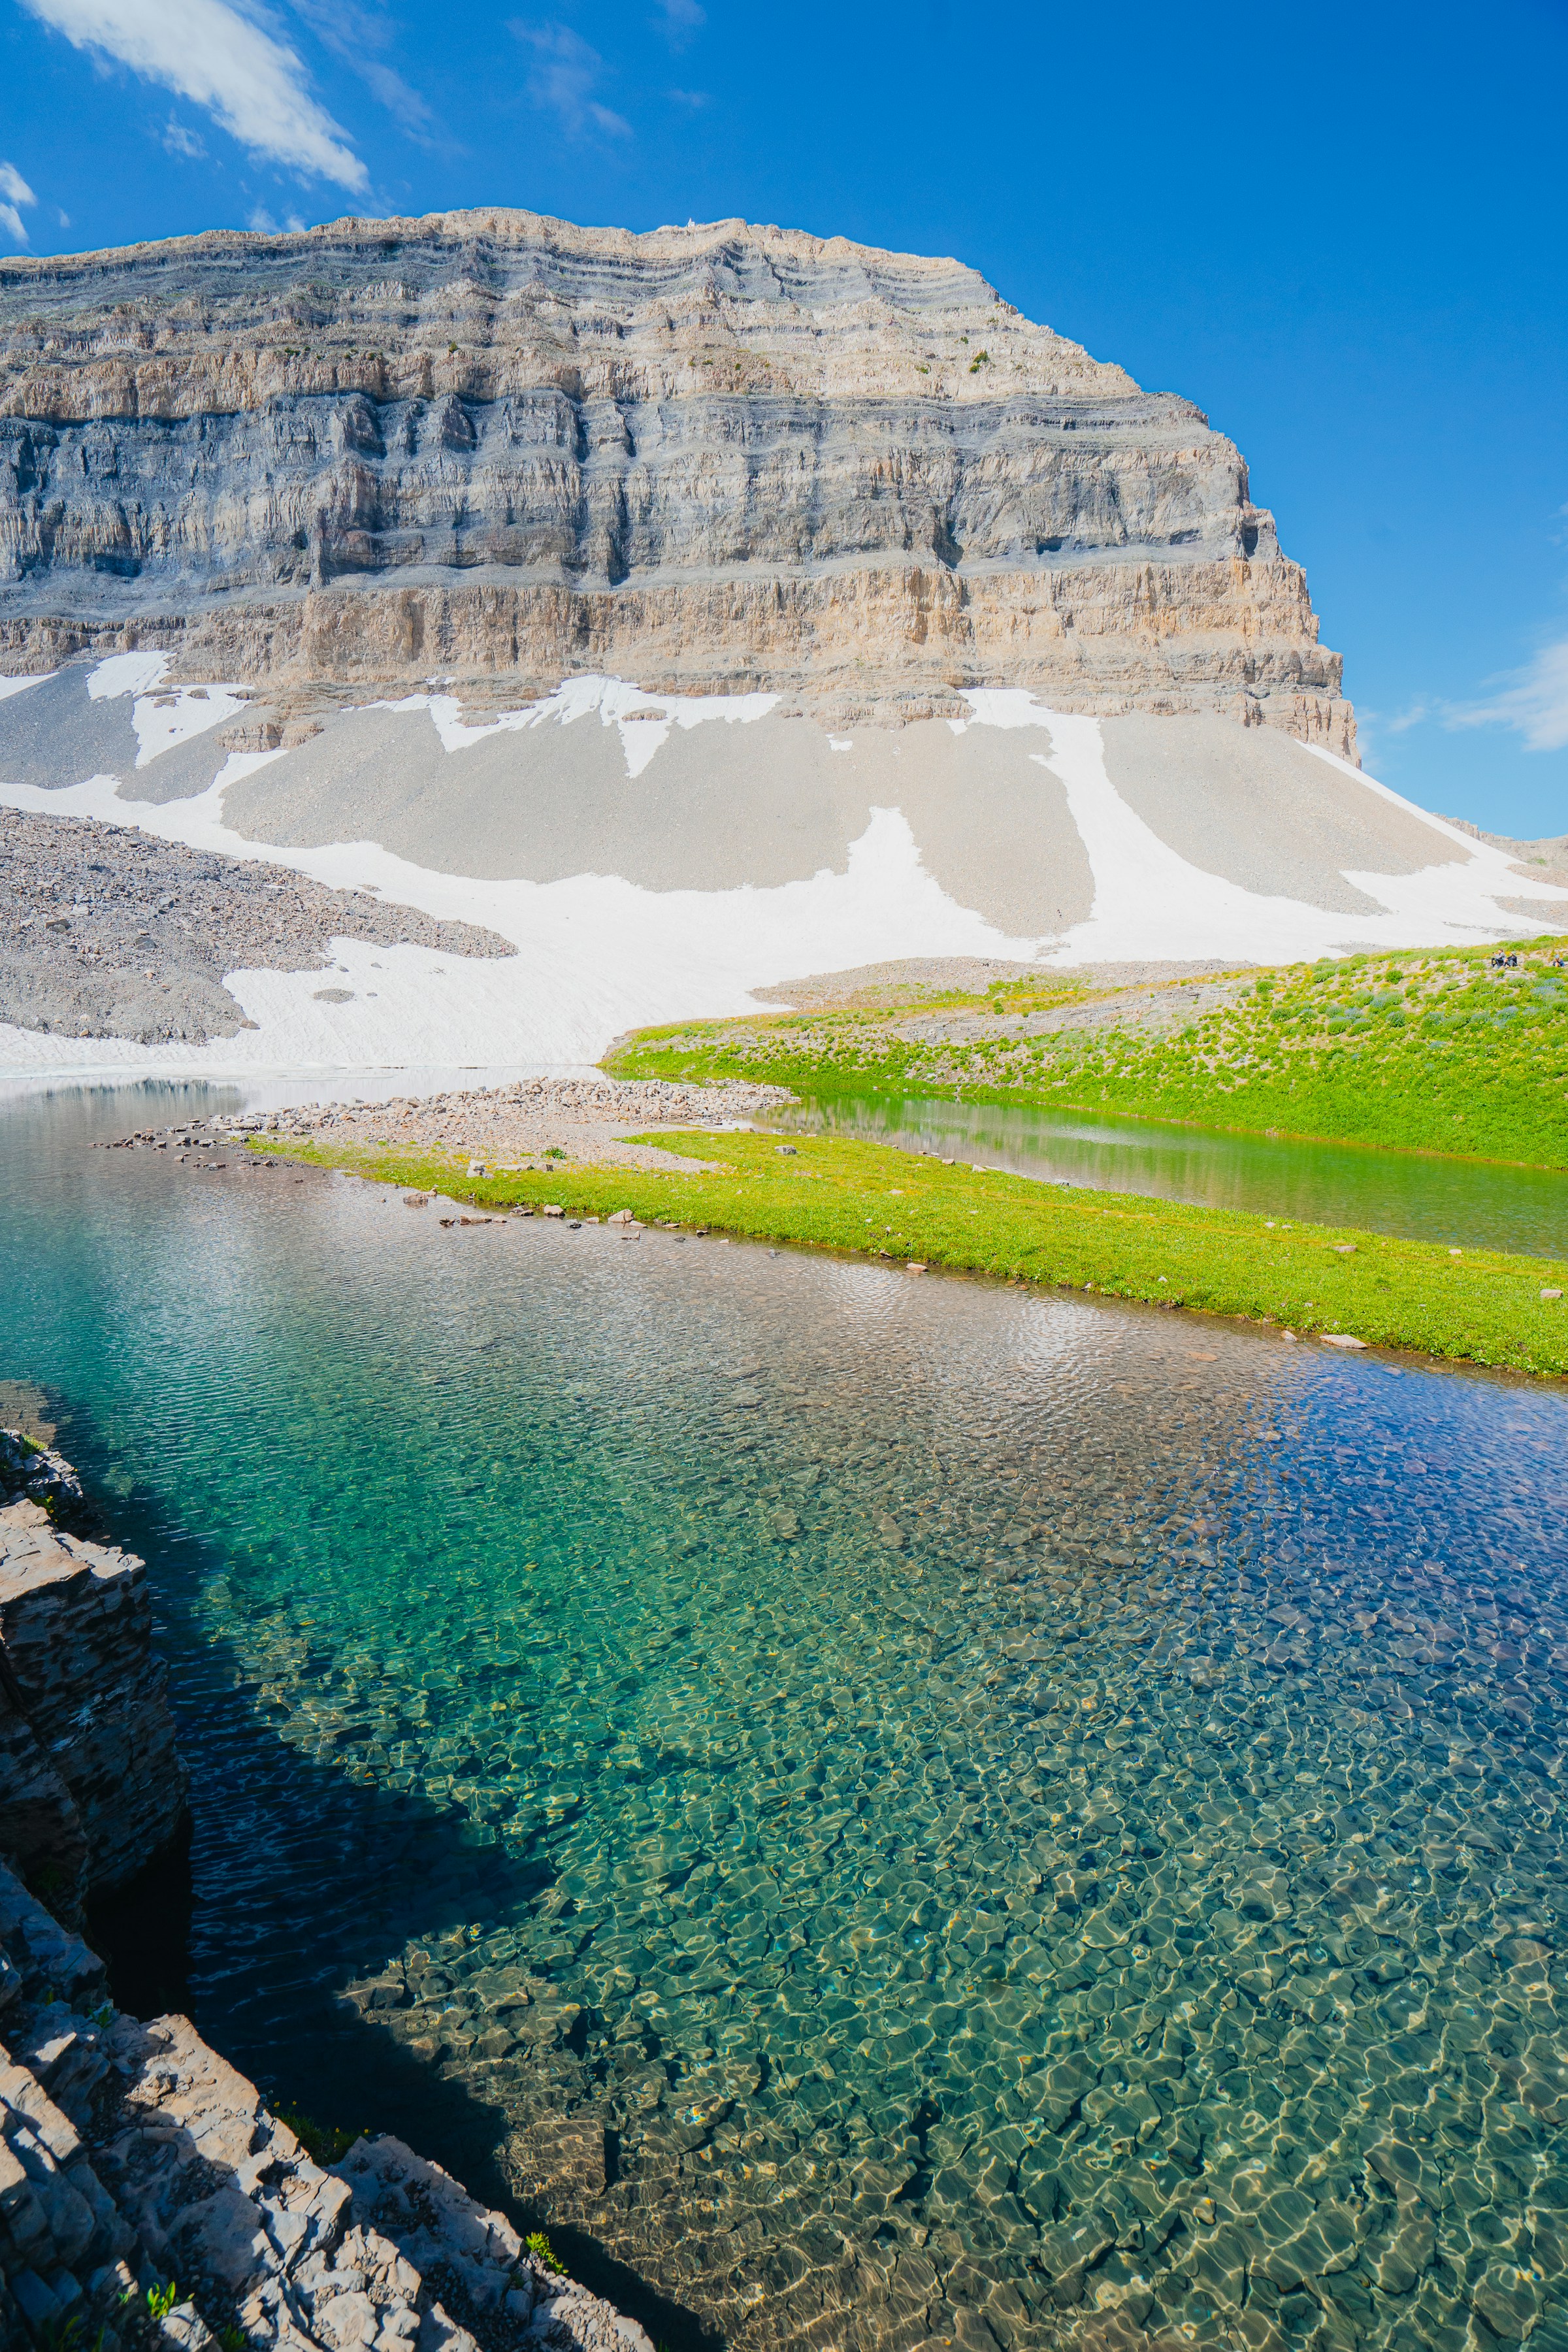
Download the demo landscape photo (JPG)
Follow the screenshots
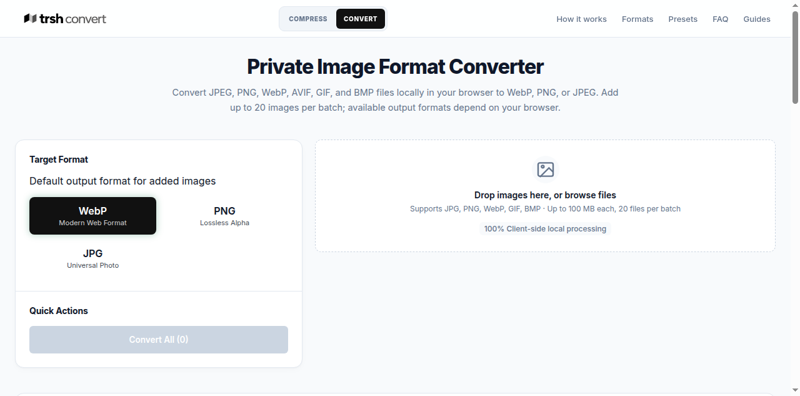
1. Open the converter
Open the trsh image converter. The target-format controls are in the left column. The drop area is beside them.
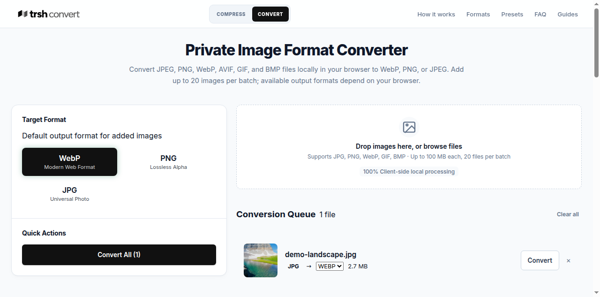
2. Add an image
Click the drop area and select the downloaded JPG. The file appears in the conversion queue with its current format and size. Selected image pixels are processed in your browser; the image file is not uploaded to trsh.
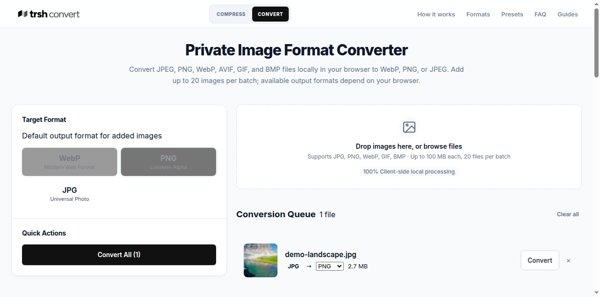
3. Choose an output format
Select WebP, PNG, or JPG in the left panel to set the default for queued images. You can also choose a different format from the selector on an individual queue row. Available outputs depend on your browser.
4. Convert the image
Click Convert beside the image, or use Convert All for the queue. When conversion finishes, the row shows the output format and resulting file size.
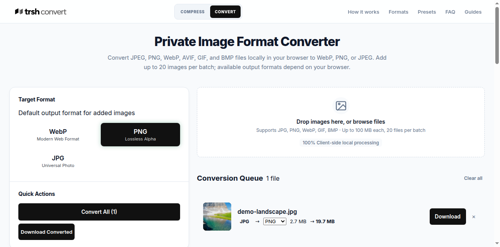
5. Download the converted file
Click Download on that row. To save all completed items, use Download Converted. Open the downloaded file to confirm it works where you plan to use it.
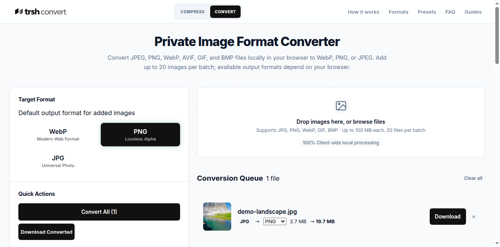
Check size and transparency
Changing a file format does not guarantee a smaller file. In this demo, converting the 2.7 MB photo to PNG produced a 19.7 MB file in the tested browser. PNG can be useful when you need lossless output or transparency, but it is often a poor size choice for photos.
- Compare the original and converted sizes before using the output.
- JPEG does not keep transparency. The converter fills transparent areas with the selected background color.
- Try another output format if the destination supports it. Browser support can affect which formats are available.
- If you need a file under a size cap, use the image compressor and check whether it reached your target.
Related: compare JPEG, PNG, and WebP · compress an image step by step